
Today we took on the task of making our own board and batten shutters. We recently took on the BIGGER task of painting our one story ranch brick home using Romabio paint by ourselves! I’ll be sure to go back and link that post here once we are completely finished with touch ups and I get that post up.
We debated on buying black shutters to go with our Bianco White paint on our house, but after much thought and scouring Pinterest to find exactly what we wanted we opted to make our own from wood and stain them.
The wood shutters will tie in nicely with the white brick and the black accents we plan to add in lights as well as the wooden flower boxes we also plan to make and add.
The wood shutters didn’t take too incredibly long to make. We made 8 and after the first few we got in a groove and was able to speed up the process.
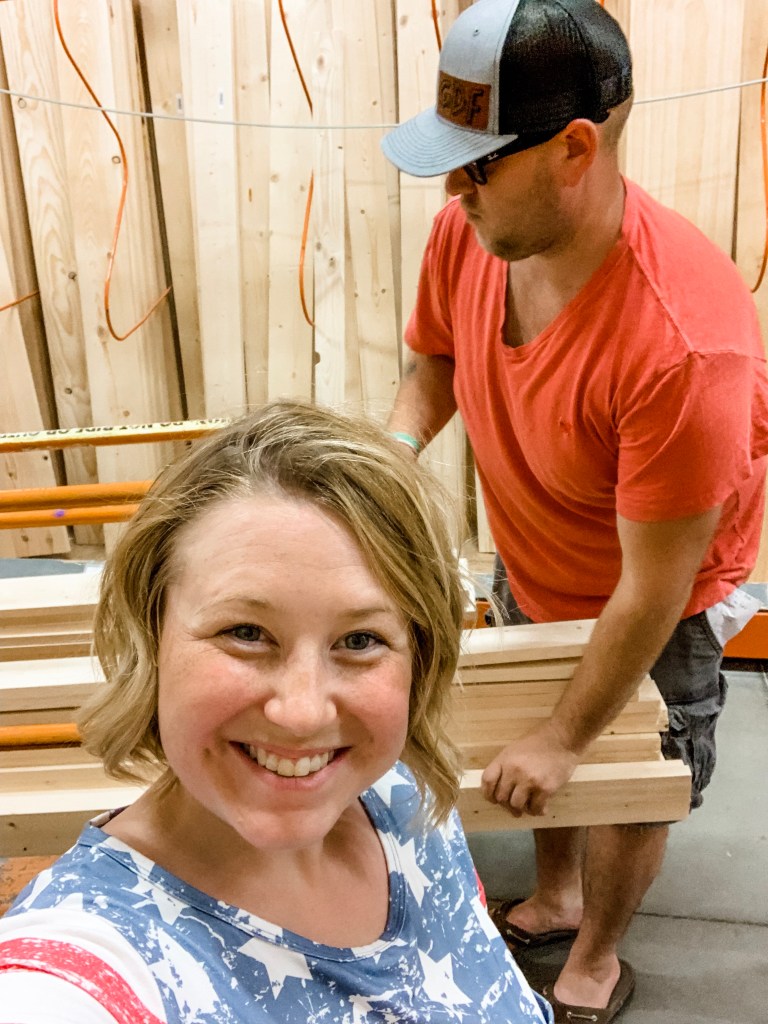
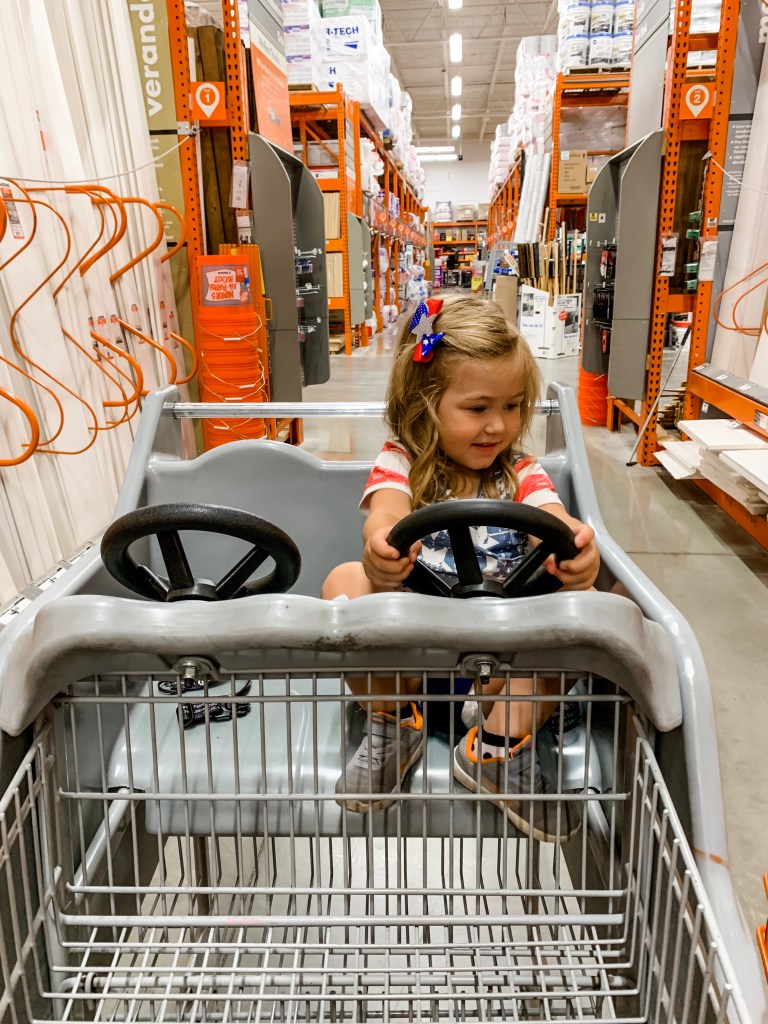
We went to our local Home Depot to purchase our materials. (Oh and btw this isn’t a sponsored post, although it would be awesome if it was!)
We used poplar board also known as common board. Before you go have in mind what style of board and batten you want to make. Or do like we did and lay out different sizes of the wood at the store so you can see how wide you want the shutters. We opted for a wider piece in the center and two thinner pieces on the outside. We used pieces of the thinner wood as our cross pieces for the front as well.

Be sure to measure the height of the window as well so you can determine how much wood you will need to buy. One of our windows measured 53 inches in height and our other 3 measured 65 inches in height.
With board and batten shutters there’s really no wrong way. You can make them thin, chunky, all the same size wood, or in a pattern similar to ours. Be creative and find what works best for you and your home.
Supplies:
Common Board
1 inch screws
Liquid Nail
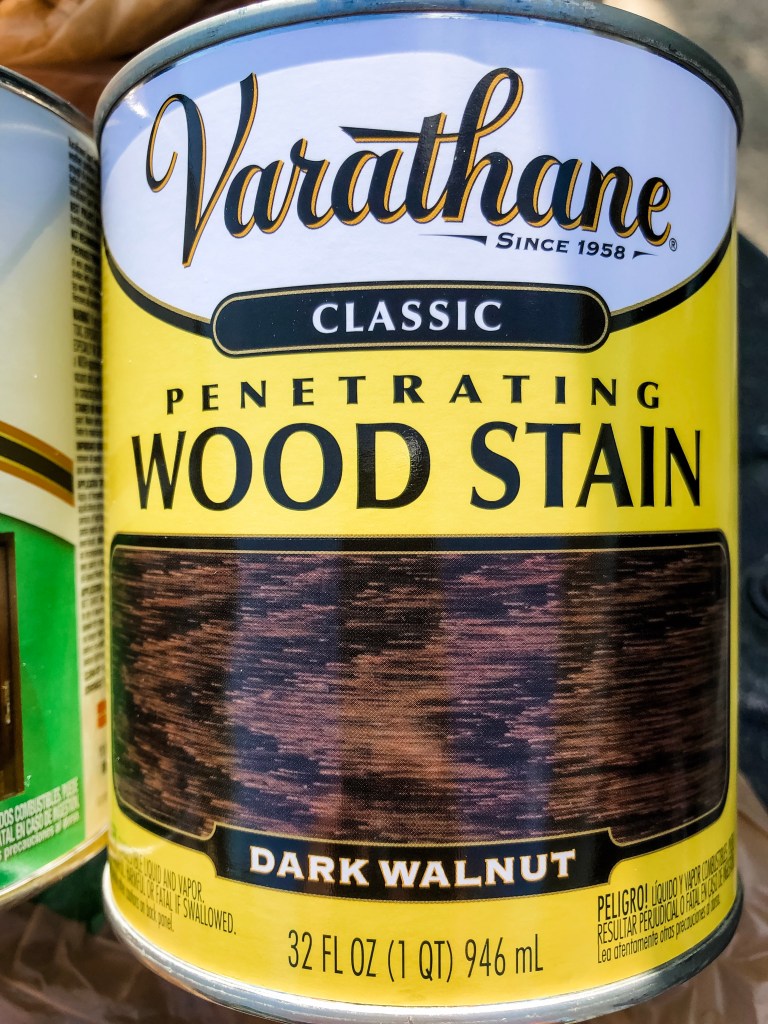
Stain (We used dark walnut)
Old T-shirt to wipe of stain
Stain Brush
Sealant
(You will need other tools such as a drill, saw, clamps and tape measure.)
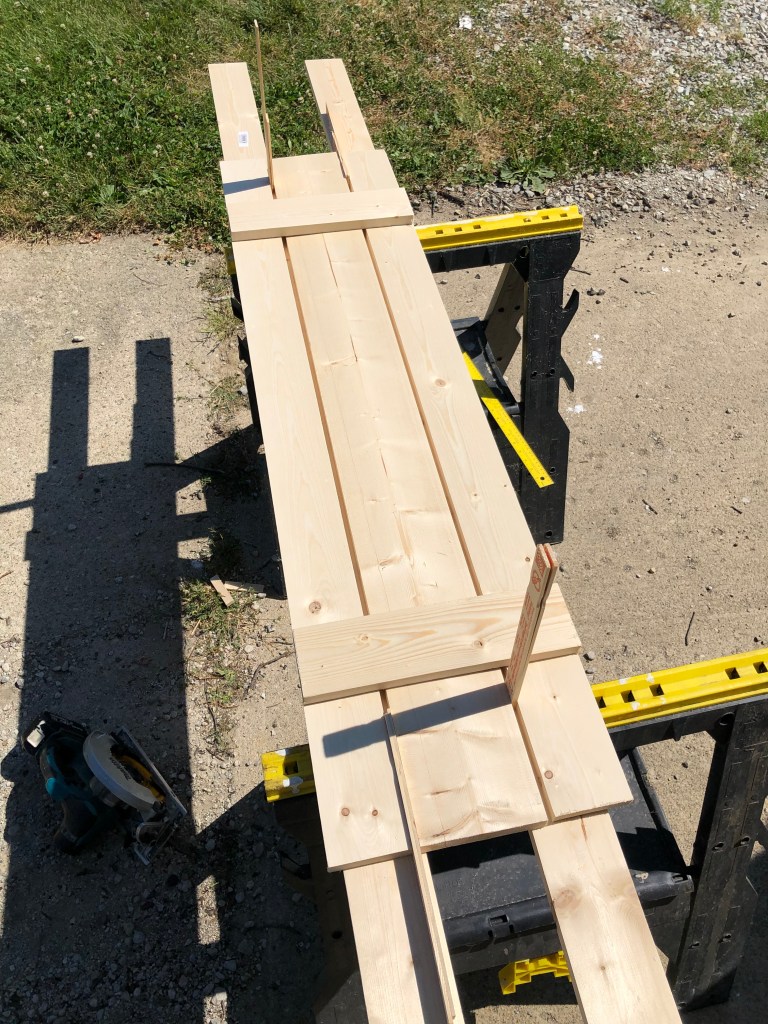
Brent first cut all of our pieces to the correct length using a cordless circular saw.
Once all boards were cut to size we placed one of the wider boards in the middle with two smaller boards on each side.
We wanted to have a little spacing between the boards; so we used two paint sticks between each board as our spacer. We placed one first and then decided to do two. Again you can have as little or as much space between your boards as you like.
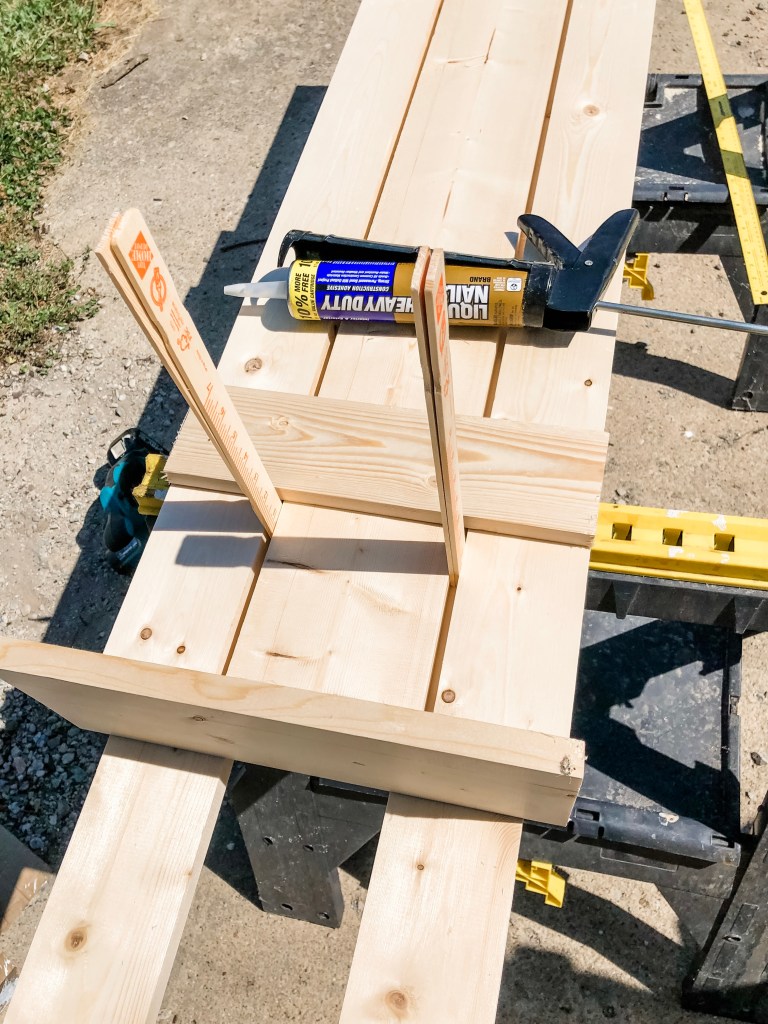
We then cut our front cross pieces based on the width of the boards. Once we cut the small board we determined how much space from the top and the bottom we wanted it. We did 7 inches on our smaller 53 inch shutters and 9 inches on our 65 inch shutters.
We used a pen to mark both sides so we could easily set it back down in the correct spot. Before we screwed the piece on we put some liquid nail on to help keep it in place. 

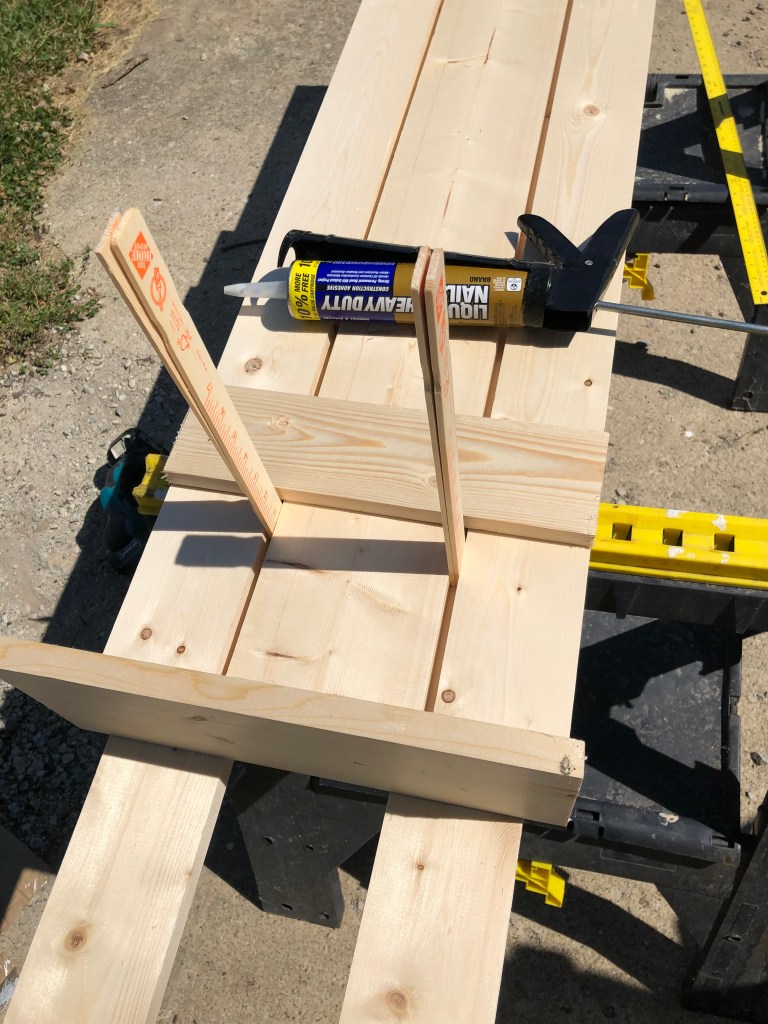
Once we got the small cross board glued on with the liquid nail we used clamps to hold the end pieces on before we screwed the board in. We flipped the board upside down with the cross pieces on bottom, and then reset our spacers so that we could scew our nails in from the back, we placed 2 screws in each board.
Once we got our screws in we turned it back over and took out the spacers and ta-da! The shutter is put together!
I forgot to take pictures of us drilling in the screws or I would show you.

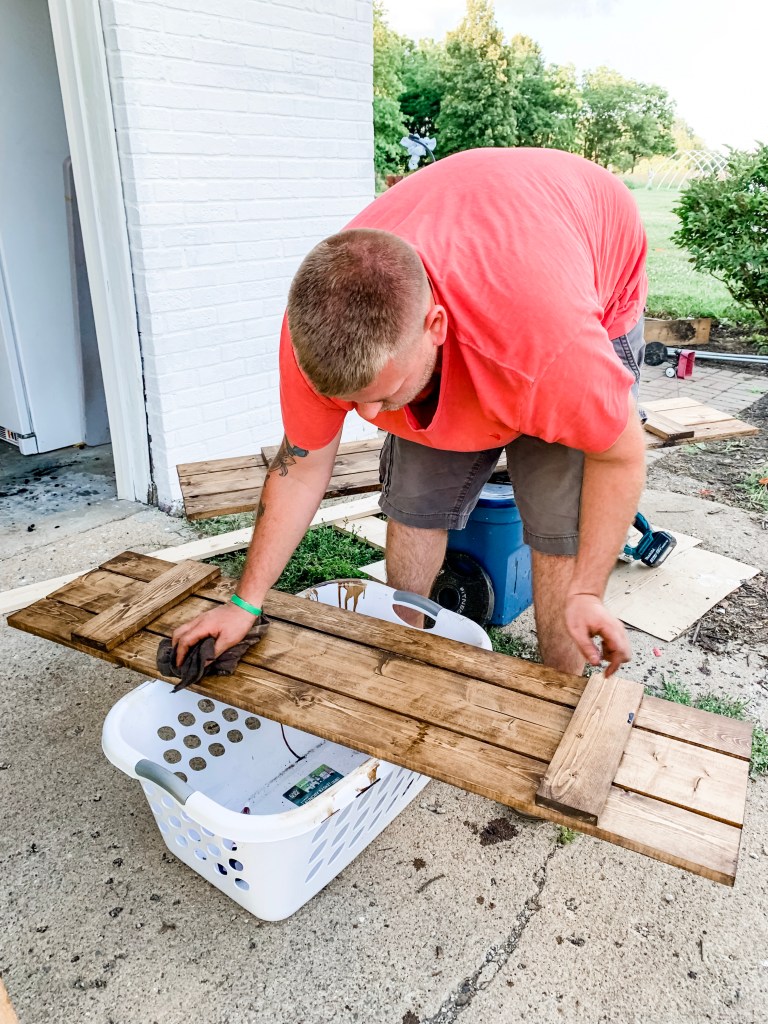
Before we stained them, we ran the sander over them to give them a nice smooth finish. Graysie even helped make dad a sandwich mid sanding. 
We then used Varathane Stain in Dark Walnut to stain the shutters. Lowe’s carries Minwax Dark Walnut which is very equivalent to the Varathane, but I recommend sticking to one stain brand and not switching back and forth just so the stain color/consistency is the same.
We did one coat so far and I think I’m going to do one more thin coat before we seal it.
We are going to seal using this Varathane product to help make our shutters last longer, give them a little gloss, and to help prevent any mold or water damage.

Overall it only took us about 3-4 hours to make all 8 shutters and stain them.


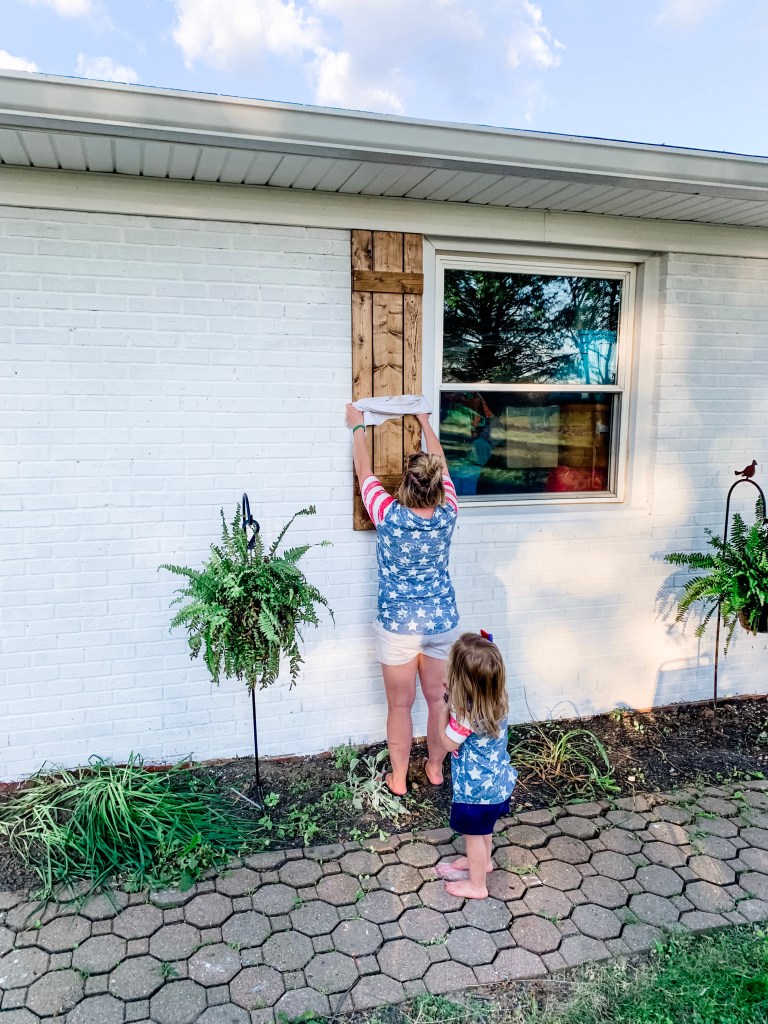
We had some awesome helpers (the kiddos) Graysie loved playing with the extra wood we cut off the ends and Maverick was a great audience. I’m so excited to get these finished and up on the house! I had to hold one up just to see what it would look like and I am already in love!
I did my best to explain the steps, but if you have any questions feel free to comment and I’ll do my best to answer! Overall it was a pretty simple project just a bit time consuming, but will be totally worth it once we are done!

Certainly a big project but one board and batten after another, and you nailed it. Excited for you to have this completed. Share when finished and they are up. ‼️‼️
LikeLike